How to set up results to be sent by email
To set up the sending of results via email, follow these instructions
Email Notifications
To connect email notifications, go to the «Email Notifications» tab within the form you need.

Activate the email option.
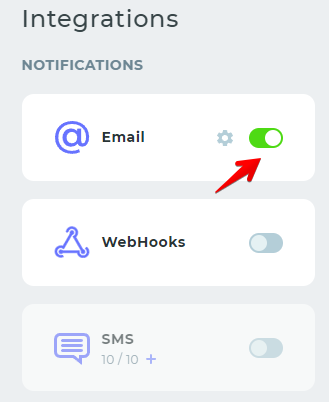
Send notifications to the form owner
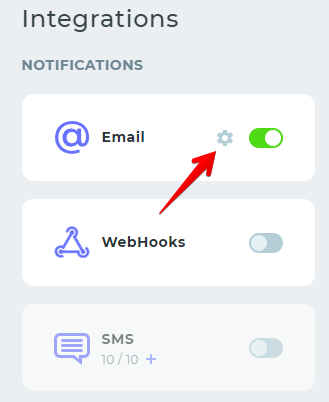
click on the gear icon to enter the settings for email.
In the field that appears, enter your email and click «Send code».
You will receive a confirmation code via email, which you need to enter in the settings menu.
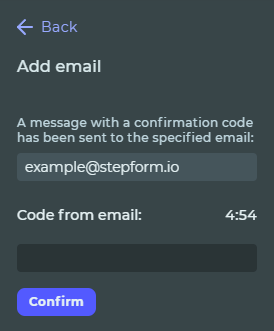
Once you confirm the code and activate the added email, responses from the form will start coming to the specified email.
This email can also be used in other forms without a new verification.
Send notifications to the client
Click on the gear icon to access the email settings and activate the «Auto-reply».
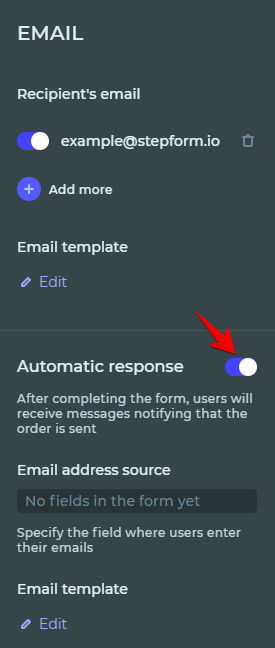
After activating it, select the email source, which should be the «Email» widget.
Email notification functionality is only available on paid plans
Editing Notification Templates
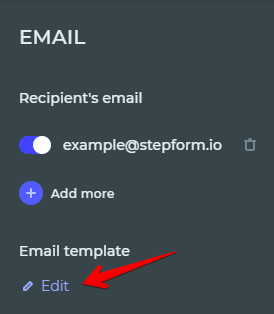
To edit the notifications you send to your clients, proceed to the editor by clicking the «Edit» button.
In the editor, you can:
- Specify the subject of the email (for email notifications only);
- Insert any text and also HTML code in email notifications;
- Use available values as variables;
- If the template is set up to send a notification to the client, you can additionally specify the sender (for email notifications only).
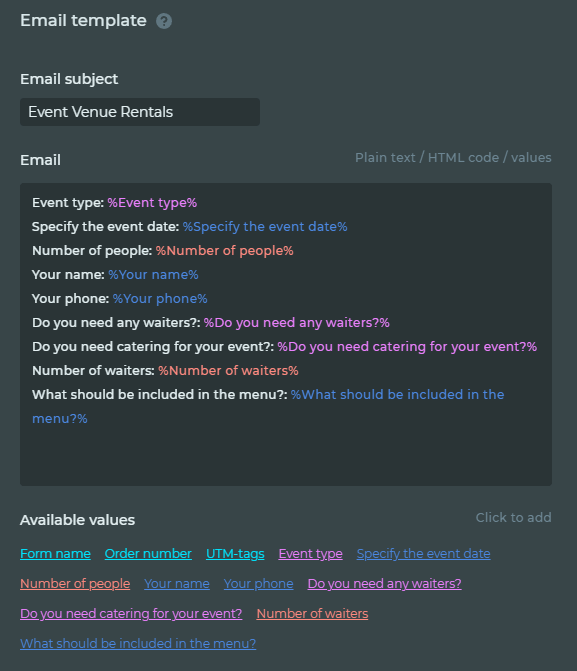
The maximum number of 10,000 characters can be placed in the notification template. This flexibility allows for comprehensive and customized communication with clients or form respondents, enhancing the overall interaction experience.
